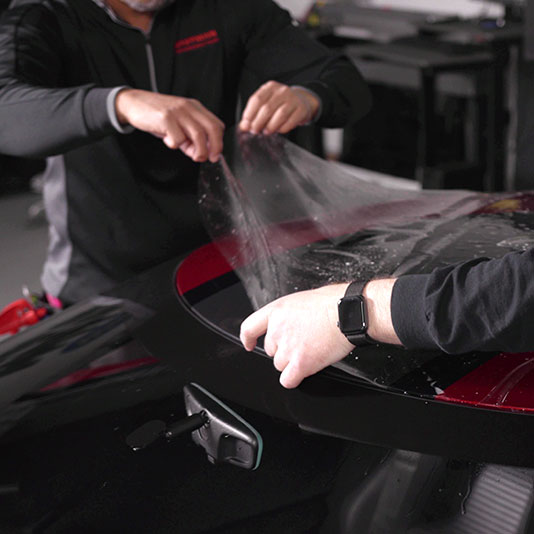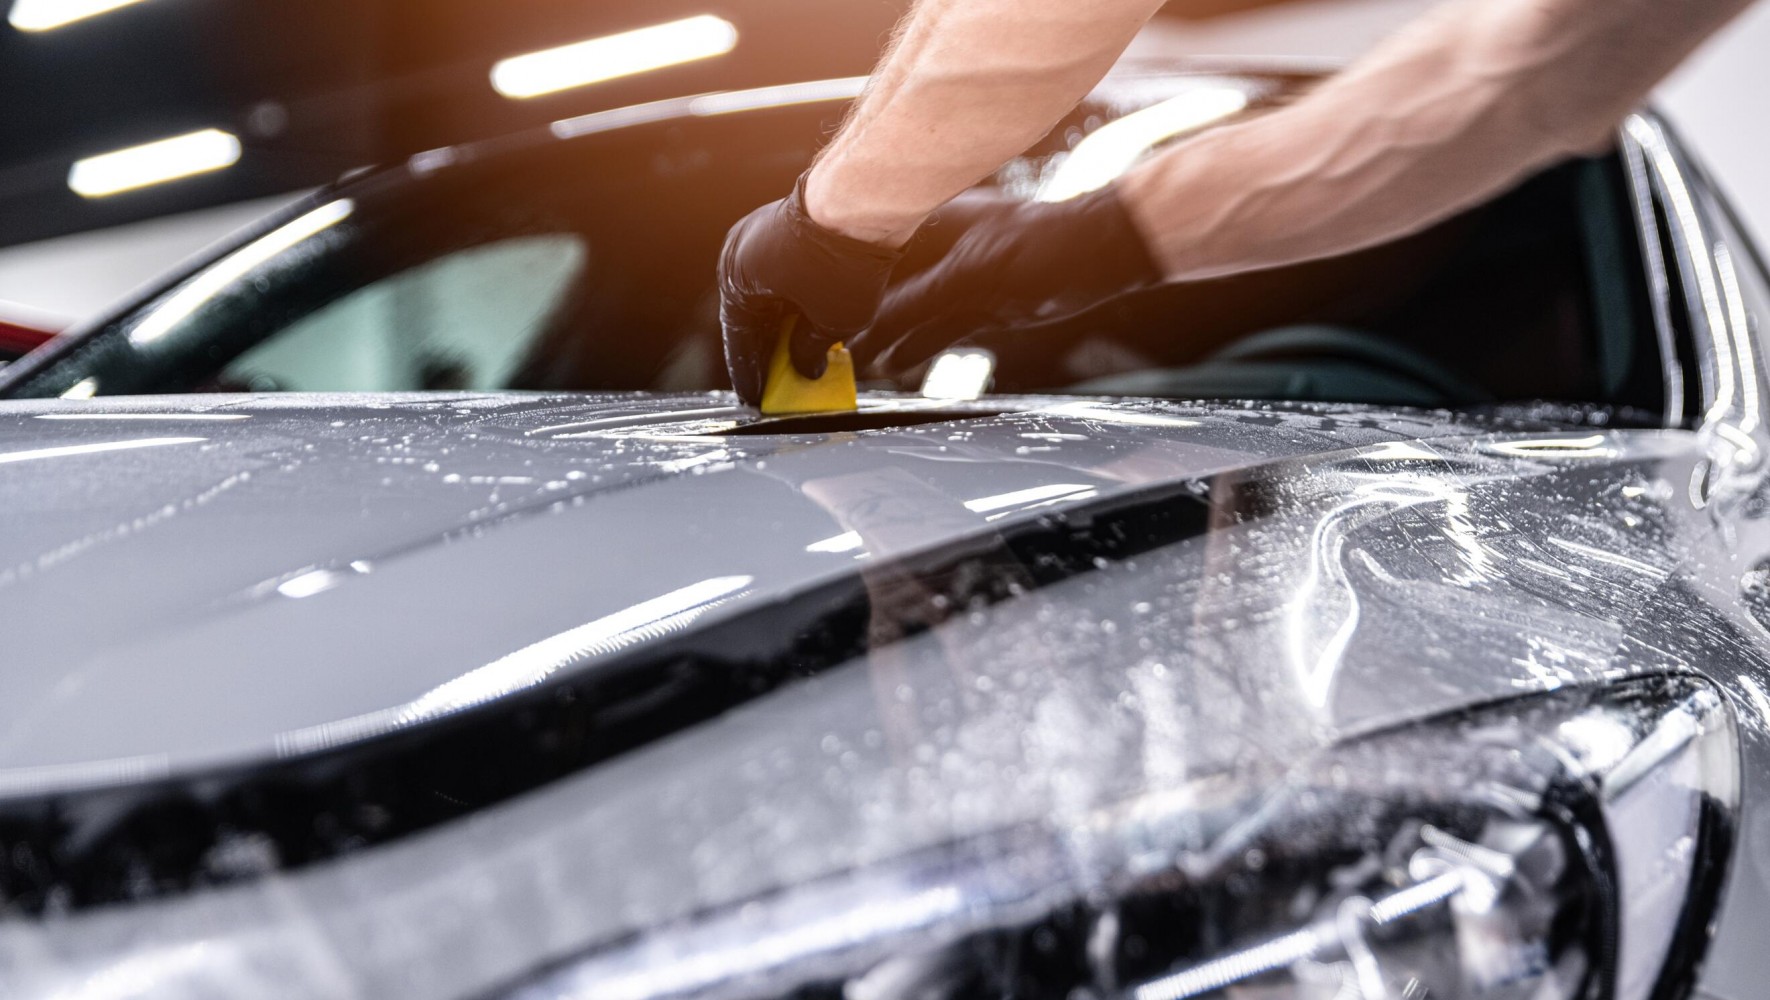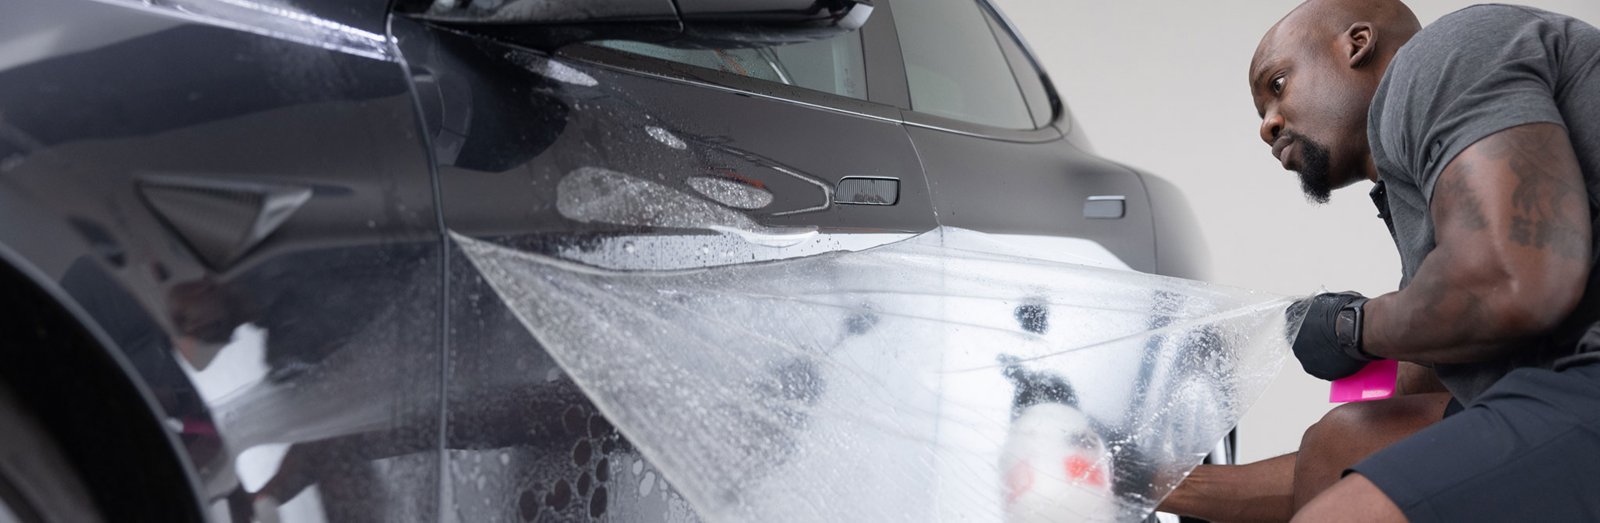
Start a PPF plan with photographs of your own car and a list of individual panels. For each one, choose full coverage, partial coverage, excluded or still to be decided. Then mark where the film should stop. A package name becomes useful when you can match it to that plan.
Make a panel-by-panel plan
LLumar’s PPF FAQ describes coverage ranging from selected areas to all painted surfaces, with coverage and installation labor affecting dealer pricing. Build your requested scope before comparing offers.
Write the model, model year, body style and trim at the top of the plan. Use the table below to start a separate entry for each panel on your car, identifying left and right where relevant. Add any bodywork or accessories that differ from the standard vehicle.
| Area | List separately | Mark on the photograph |
|---|---|---|
| Front bumper | Painted bumper sections and any separately requested pieces. | Coverage limits around openings and excluded trim. |
| Hood and front fenders | Hood, left fender and right fender. | Full or partial coverage; the exact boundary of any partial section. |
| Mirror caps | Left and right painted caps. | Covered faces and parts left uncovered. |
| Doors and contact areas | Each door, handle recess, door edge and sill requested. | Whether small pieces are separate from the main door coverage. |
| Lower sides | Left and right rocker panels or side skirts, as fitted. | The selected painted sections and where coverage ends. |
| Rear bodywork | Rear quarter panels, bumper, trunk or tailgate, and loading edge. | Each included section and any partial-panel boundary. |
| Roof and other areas | Painted roof sections and any remaining requested panels. | Boundaries beside glass, trim or accessories; unresolved areas. |
Show the boundaries and exclusions
Give each photograph a number and refer to it beside the corresponding panel. For partial hood coverage, for example, draw the proposed stopping line and ask the installer to confirm it. “Partial hood” alone leaves that line unspecified.
Ask the installer to mark proposed seams, exposed film edges and any edges they plan to wrap. Record the agreed treatment for each panel rather than assuming every edge will be wrapped. List lights, sensors, badges, unpainted trim and other adjacent parts separately as included, excluded or awaiting assessment; do not leave their status implicit.
View a sample of the exact film and finish, then record that choice alongside the plan. If different areas will use different products or finishes, identify them panel by panel. Note any agreed parts removal with the relevant area.
Add the car’s surface history
Mark repainted or repaired panels, existing damage and known waxes or coatings. Include dates and product names if you have them; use “unknown” where you do not.
LLumar states that waxes and coatings can interfere with adhesion and that its PPF is designed for original painted surfaces. Ask the installer to assess each affected area for your selected film and record the proposed preparation before you confirm the scope.
Use the same plan through quotation and handover
Date the panel list and marked photographs. Attach the same version to each quotation request, and record any later scope changes. Our quotation checklist and printable comparison sheet cover the product, price and service details to compare alongside it.
At collection, walk around the car with the agreed plan and ask the installer to identify the completed boundaries and edges. Keep the final panel list with the exact film name and care instructions. The PPF first-wash guide helps you turn those instructions into a wash schedule and questions for whoever maintains the car.